 Pin It
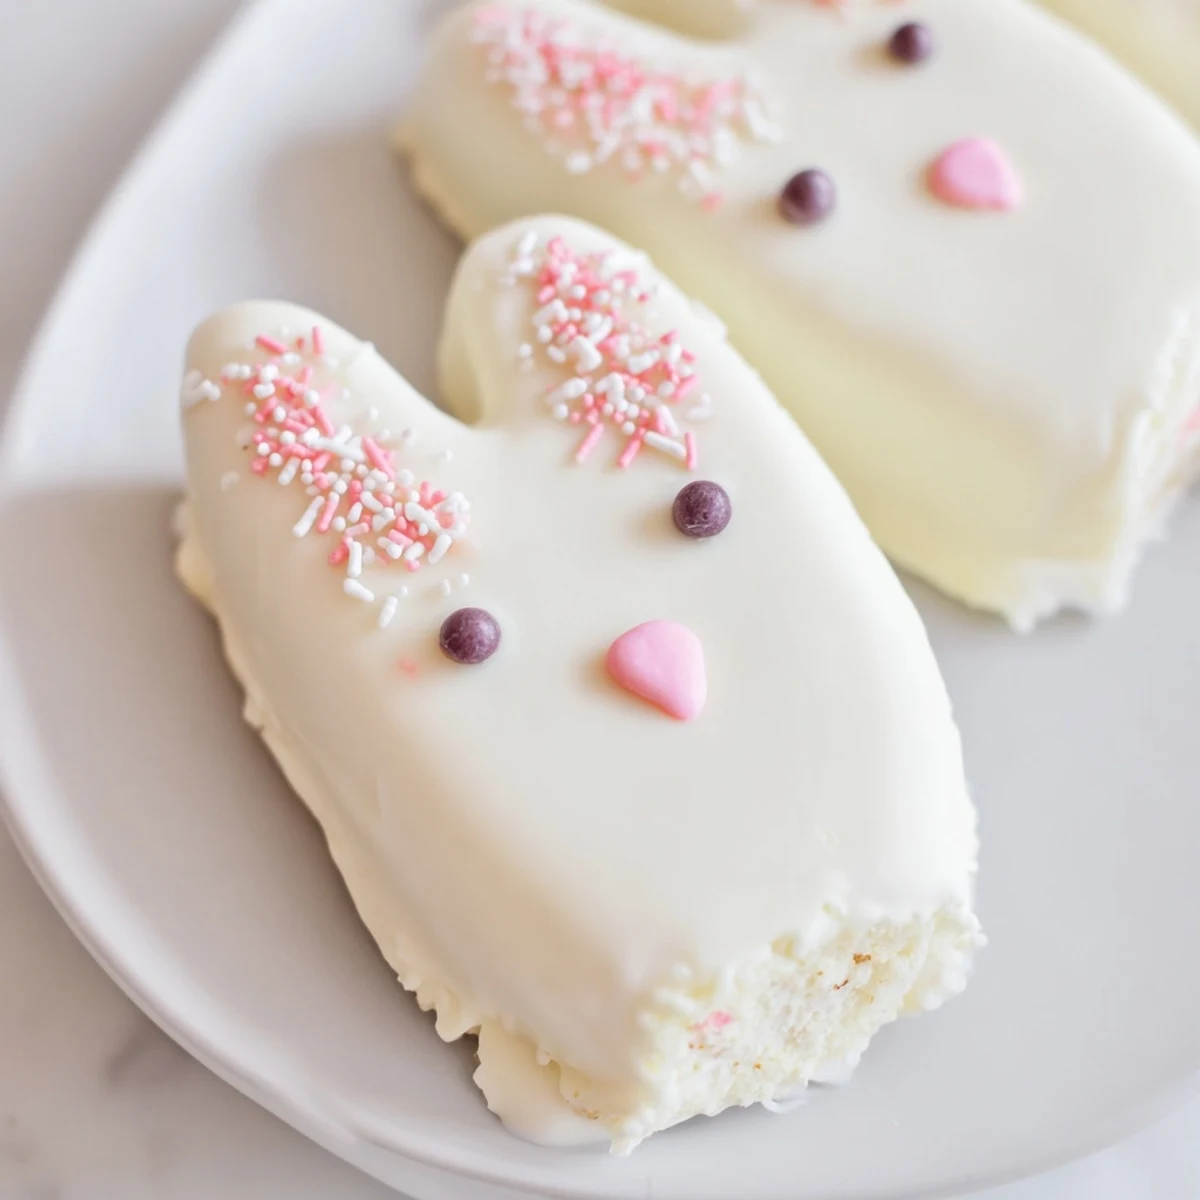
 These delightful bunny-shaped treats combine moist vanilla cake centers with smooth white chocolate coating. Perfect for Easter gatherings, each cakesicle features adorable details like candy eyes, pink noses, and colorful ears. The cake mixture uses vanilla cake crumbs blended with cream cheese, butter, and powdered sugar for a rich, dough-like consistency. After shaping into bunny faces and inserting sticks, dip them in melted white chocolate and decorate with your favorite sprinkles, fondant ears, or edible decorations. The result is an impressive, festive dessert that's both fun to make and beautiful to display.
Last Easter, my niece watched with wide eyes as I pulled these bunny cakesicles from the fridge. She couldn't believe they were actually edible, and honestly, neither could my brother when he saw how quickly they disappeared. The way the white chocolate crunches into that soft, fudgy cake center creates something magical that no ordinary cupcake can match.
I stumbled onto cakesicles when I had leftover birthday cake and no idea what to do with it. Now they've become my go-to whenever I need something that makes people gasp when I bring them out. Kids and adults both gravitate toward these treats, and there's something so satisfying about eating cake on a stick.
Ingredients
- 1 cup vanilla cake crumbs: These form the base of your cakesicles, so use cake you actually love eating
- 2 tbsp cream cheese: The secret binder that makes the filling fudgy rather than dry
- 1 tbsp unsalted butter: Adds richness and helps everything hold together beautifully
- 2 tbsp powdered sugar: Just enough sweetness without making the filling cloying
- 1/2 tsp vanilla extract: Pure vanilla makes all the difference in the final flavor
- 10 oz white chocolate: Quality matters here since it's the main coating everyone will taste
- Edible gel food coloring: Pink and yellow work perfectly for those bunny details
- 8 cakesicle sticks: Make sure they're food-grade and sturdy enough to hold the weight
- Sprinkles and decorations: Candy eyes and fondant ears bring these bunnies to life
Instructions
- Mix the cake base:
- Combine cake crumbs, cream cheese, butter, powdered sugar, and vanilla in a bowl until it forms a dough that holds together when squeezed
- Shape the bunnies:
- Divide into 8 portions and form each into a flattened oval, then gently press a stick into each shape
- Chill before dipping:
- Refrigerate for 20-30 minutes until firm to the touch, which prevents them from falling apart in the chocolate
- Melt the coating:
- Heat white chocolate in 30-second bursts, stirring between each until completely smooth and fluid
- Dip and coat:
- Submerge each cake shape in chocolate, tap off excess, and immediately add decorations before the coating sets
 Pin It
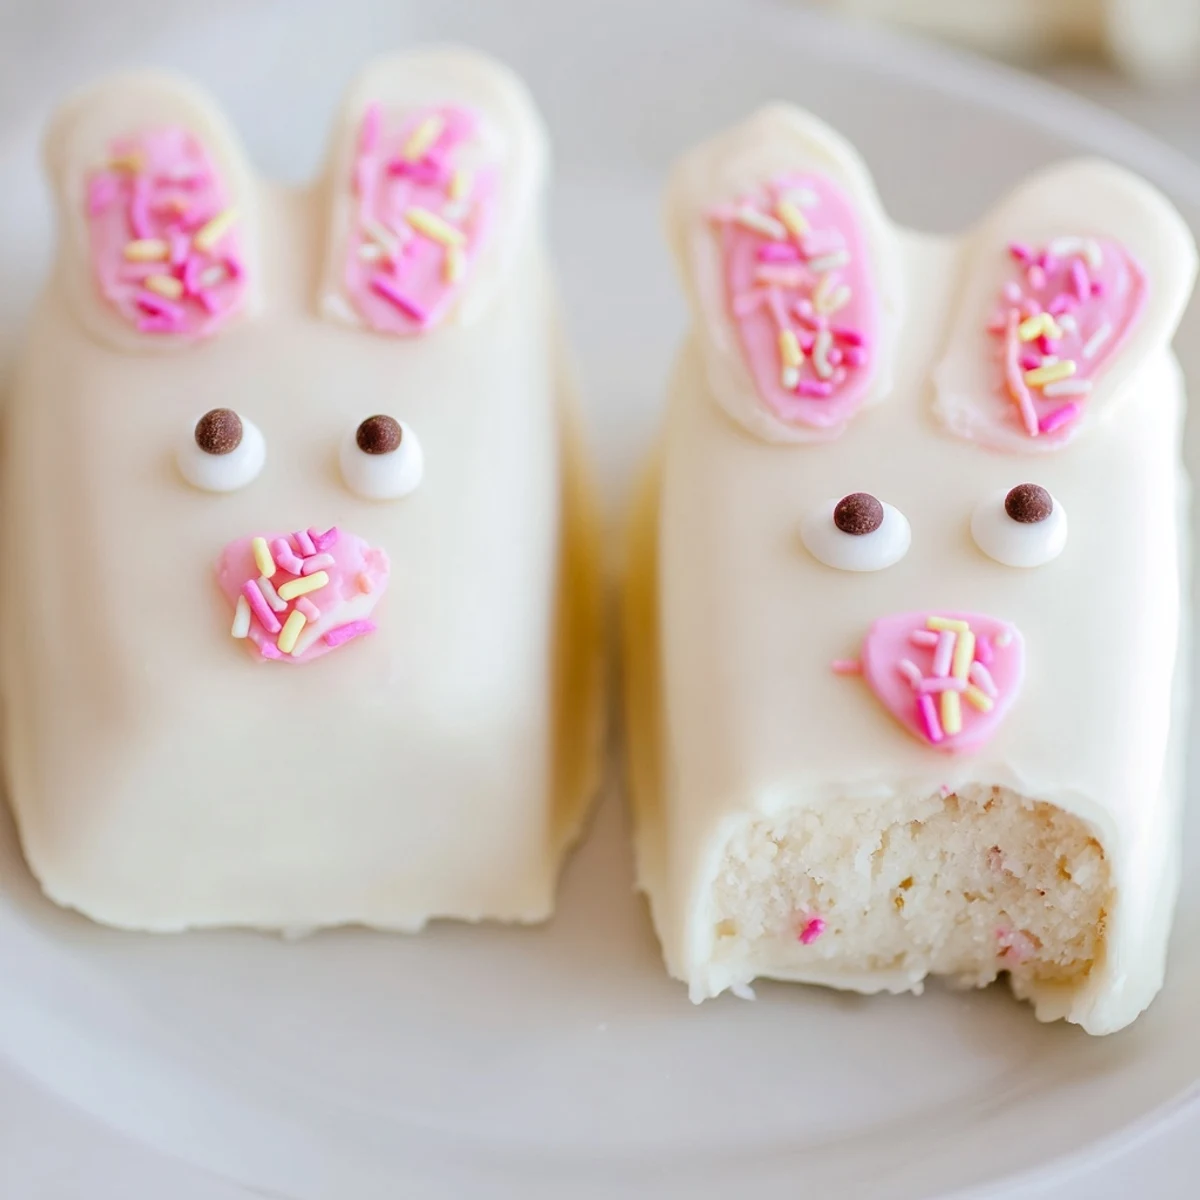
 My daughter helped decorate a batch last year, and every bunny ended up with a slightly different expression. Those imperfect faces became the highlight of our dessert table, and now I wouldn't want them any other way. These treats have a way of making Easter feel more personal and handmade.
Getting The Right Texture
The cake-to-frosting ratio is everything here. Too much binder and you'll have truffles, too little and they'll crumble. I've found that one cup of fine crumbs needs about three tablespoons total of cream cheese and butter to achieve that perfect cakesicle texture that's firm but still melts in your mouth.
Chocolate Coating Secrets
White chocolate can be finicky and seize if you're not careful. Keep your tools completely dry, and if the chocolate seems too thick for dipping, add a teaspoon of coconut oil to thin it out. The coating should flow off your spoon like heavy cream for the smoothest results.
Decoration Ideas That Work
Sprinkles need to be added immediately after dipping while the chocolate is still tacky. Candy eyes stick best if you press them gently into the soft coating, and fondant ears can be made ahead and stored in an airtight container until you're ready to attach them.
- Keep some melted chocolate aside as edible glue for stubborn decorations
- Pink pearls make adorable noses when you can't find pink candy melts
- Work with one cakesicle at a time once the chocolate is melted
 Pin It
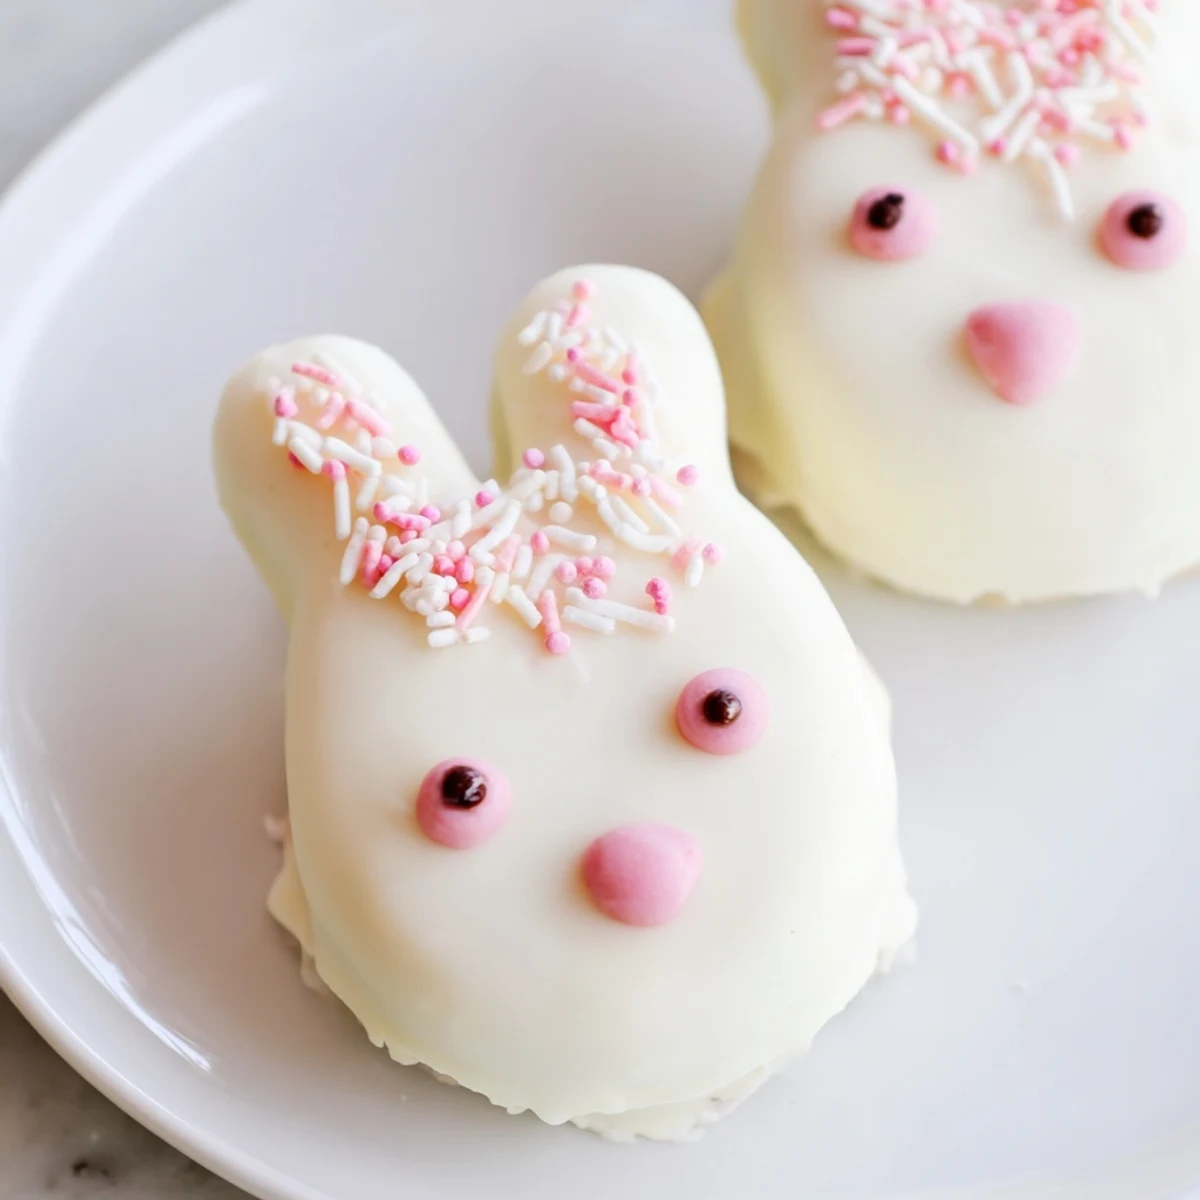
 These bunny cakesicles have become my Easter tradition, and I love watching everyone's faces light up when they spot them on the dessert table. There's something about food on a stick that makes everything taste better, especially when it's this adorable and delicious.
Recipe FAQ
- → How far in advance can I make these bunny cakesicles?
-
These treats can be prepared up to 3 days in advance. Store them in an airtight container in the refrigerator to maintain freshness. The white chocolate coating helps preserve the moist cake center. For best results, decorate within 24 hours of serving to prevent decorations from softening or losing their shape.
- → Can I use different cake flavors besides vanilla?
-
Absolutely! Chocolate, lemon, red velvet, or funfetti cake crumbs work wonderfully. The key is maintaining the proper ratio of crumbs to cream cheese mixture—about 1 cup crumbs to 2 tablespoons cream cheese ensures the cakesicles hold their shape during dipping and decorating.
- → What's the best way to melt white chocolate for coating?
-
Melt white chocolate in a microwave-safe bowl using 30-second intervals at 50% power, stirring between each session. This prevents seizing and ensures smooth consistency. Alternatively, use a double boiler on the stovetop. The chocolate should be fluid but not too hot—around 90°F (32°C) is ideal for dipping.
- → Do I need a special cakesicle mold to make these?
-
While molds help create uniform shapes, they're not essential. You can shape the mixture by hand into flattened ovals or bunny faces. The key is working with chilled, firm dough mixture. A mold simply makes the process faster and ensures each treat looks identical. If molding by hand, refrigerate the mixture for 30 minutes before shaping.
- → How can I prevent the sticks from falling out?
-
Always insert sticks into chilled, firm cake shapes. Dip the stick tip into melted white chocolate before inserting—it acts as glue when it hardens. Insert about halfway through the shape, then refrigerate for at least 20 minutes before dipping. This ensures the stick is secure and won't slip out during coating or serving.
- → What decorations work best for bunny faces?
-
Candy eyes, pink confetti sprinkles for noses, and fondant or modeling chocolate ears create classic bunny expressions. You can also use pretzel sticks for whiskers, mini chocolate chips for eyes, or piped royal icing for details. Edible food coloring pens work wonderfully for adding fine details after the white chocolate sets.