 Pin It
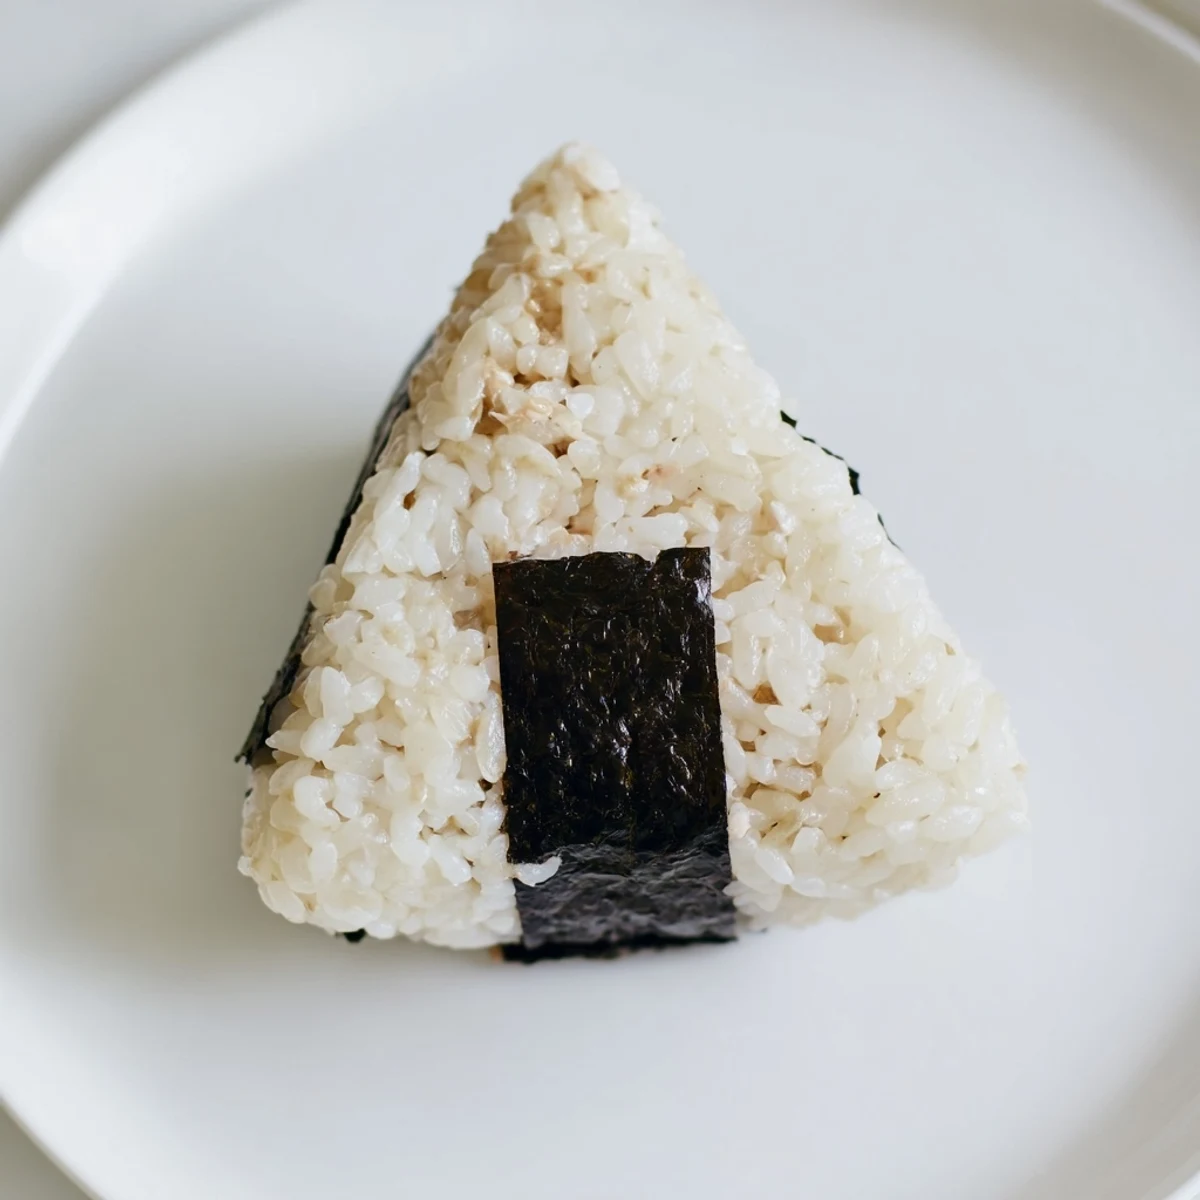
 These traditional Japanese rice balls feature a savory tuna mayonnaise filling encased in seasoned short-grain rice. The handheld format makes them ideal for packed lunches, picnics, or quick snacking. Preparation involves cooking Japanese rice until perfectly tender, then mixing canned tuna with Kewpie mayonnaise and soy sauce for the creamy center. While rice is still warm, shape portions around the filling using salted wet hands to prevent sticking. Each finished triangle gets wrapped with a strip of nori for easy handling and added umami flavor. The result is six portable onigiri that balance soft, sticky rice with a rich, savory filling.
The convenience store around the corner from my old apartment in Tokyo sold onigiri for about 130 yen, and I probably ate enough of them to fund a small shrine. Something about peeling back that plastic wrapper and pressing the nori onto warm rice felt like a tiny ritual worth repeating every single day.
My friend Yuki laughed at me the first time I tried shaping onigiri because I kept squeezing too hard and turning them into dense little bricks. She placed her hands over mine and showed me the gentle cupping motion, and suddenly they came out perfect, golden triangles with just enough pressure to hold together.
Ingredients
- 2 cups Japanese short-grain rice: This is non negotiable because long-grain rice will crumble and fall apart when you try to shape it.
- 2 1/2 cups water: Measured precisely for the right texture, slightly less absorbent than you might expect.
- 1 can (5 oz) tuna in water, drained: Squeeze the can lid down firmly to remove every drop of excess liquid for the creamiest filling.
- 3 tablespoons Japanese mayonnaise (Kewpie preferred): The egg yolks and rice vinegar in Kewpie create a richness that regular mayo simply cannot replicate.
- 1 teaspoon soy sauce: Just enough to add depth without making the filling wet.
- 1/4 teaspoon ground black pepper (optional): A quiet kick that rounds everything out beautifully.
- 1/2 teaspoon salt: For your palms during shaping, which also seasons the rice surface perfectly.
- 6 small sheets nori, cut into strips: The crackle of seaweed against rice is half the joy of eating onigiri.
Instructions
- Wash the rice clean:
- Rinse the rice under cold running water, swirling with your fingers, until the water turns from cloudy to nearly transparent, usually four or five changes.
- Cook the rice:
- Combine rinsed rice and water in a rice cooker or heavy-bottomed pot and cook according to directions, then let it steam with the lid on for 10 minutes before touching it.
- Mix the filling:
- Flake the drained tuna into a bowl, add mayonnaise, soy sauce, and pepper, then fold until you get a creamy, cohesive mixture that holds its shape when spooned.
- Prep your hands:
- Wet both palms with water and rub the salt across them so the rice slips rather than sticks, working quickly while the rice is still warm.
- Shape the onigiri:
- Press about half a cup of rice into a disc in your cupped palm, spoon filling into the center, then fold the rice over and gently form a triangle using your fingers as a mold.
- Wrap and finish:
- Press a strip of nori onto one side of each rice ball, wrapping it snugly, and either eat immediately or wrap tightly for later.
 Pin It
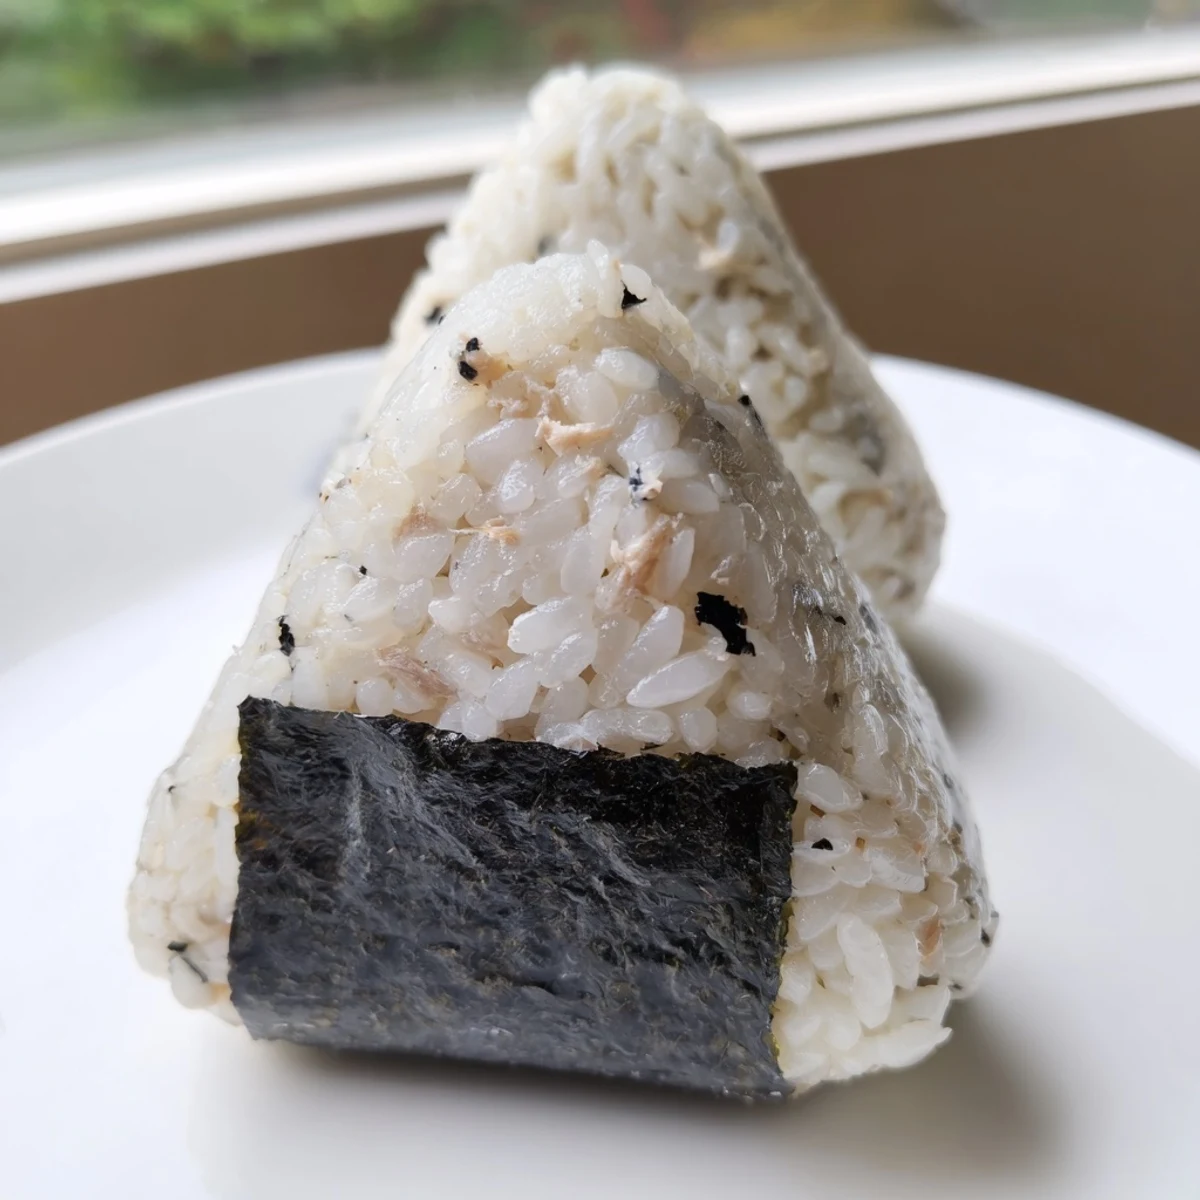
 Packing these into a bento box for a hanami picnic under cherry blossoms turned a regular Tuesday into one of those afternoons you replay in your head years later.
Keeping Them Fresh
Onigiri are at their absolute best within a few hours of making them, when the rice is still soft and the nori has not gone chewy from moisture. If you need to store them, wrap each one tightly in plastic and refrigerate, but try to eat them within 24 hours before the texture shifts.
Making It Your Own
Chopped scallions folded into the tuna mayo add a bright crunch that cuts through the richness, and a few drops of sesame oil transform the filling into something unexpectedly aromatic. You could also tuck a small umeboshi plum into the center alongside the tuna for a tart surprise.
Tools That Help
A rice cooker takes all the guesswork out of achieving perfectly cooked grains, though a sturdy pot with a tight lid works just as well if you keep the heat low and resist lifting the lid too soon. Keep a bowl of water and a damp towel beside you while shaping because wet hands are the real secret to clean, tidy onigiri.
- Plastic wrap laid over your palm can act as a training wheel if the rice keeps sticking.
- A small ice cream scoop portions the rice evenly so every onigiri is the same size.
- Press the nori on just before eating for maximum crunch.
 Pin It
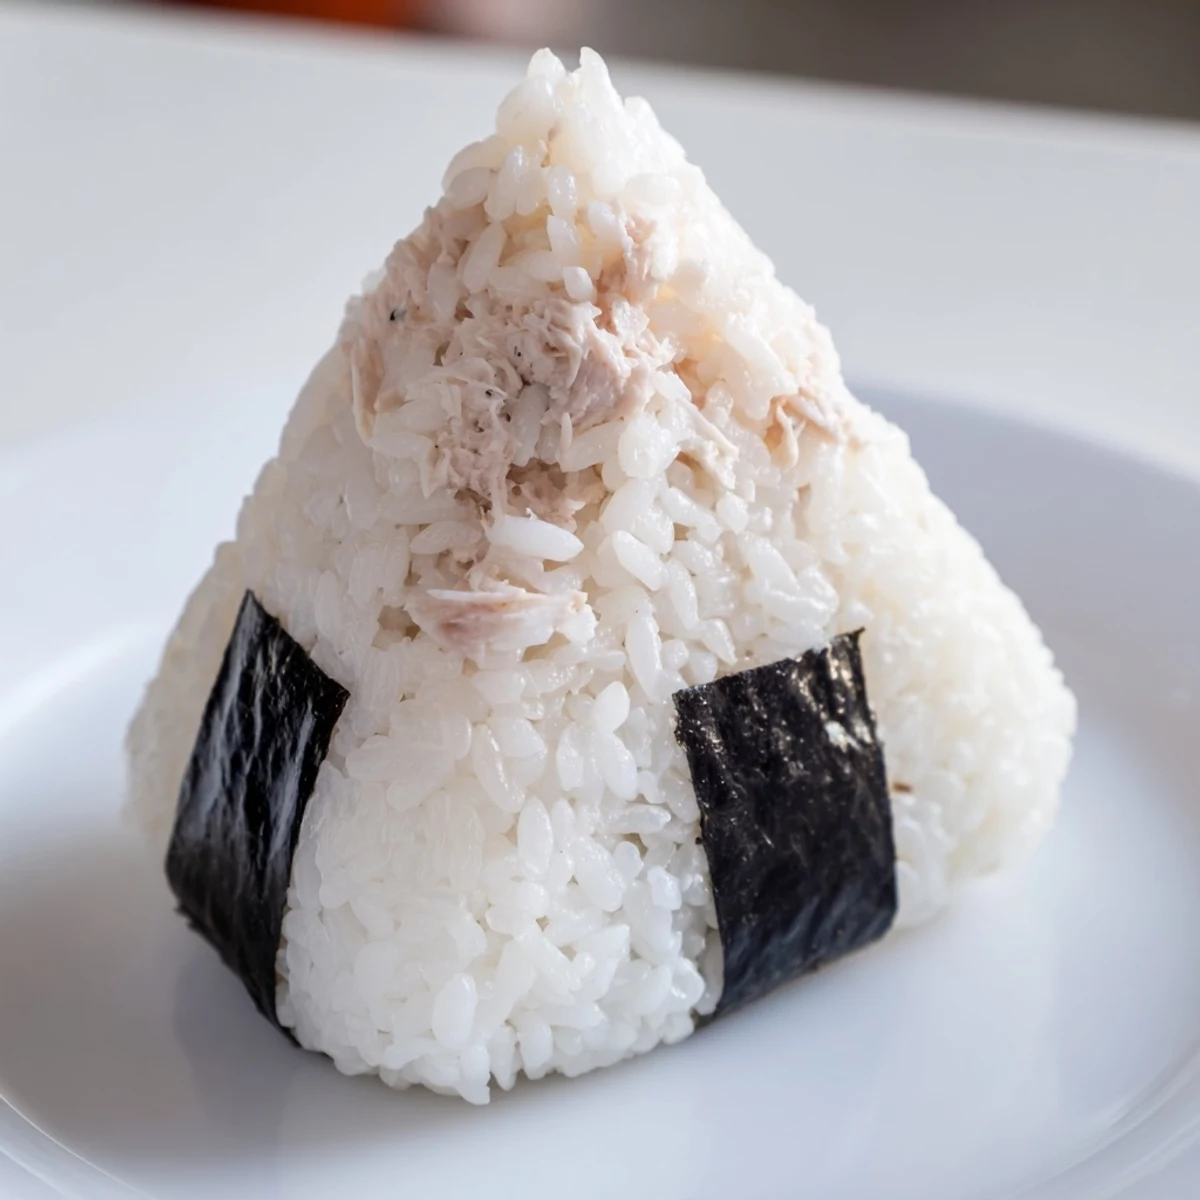
 Once you get the hang of shaping these, you will find yourself making them at 11 pm for no reason at all, just because it feels good to have something warm and homemade waiting in the fridge.
Recipe FAQ
- → What type of rice works best for onigiri?
-
Japanese short-grain rice or sushi rice is essential because its sticky texture holds the triangular shape together. Long-grain varieties like jasmine or basmati lack the necessary starch content and will crumble when formed.
- → Can I make these ahead of time?
-
Onigiri taste best when freshly made but can be wrapped tightly in plastic wrap and refrigerated for up to 24 hours. The rice may harden slightly when chilled—let them come to room temperature or microwave briefly before eating.
- → What's the difference between Japanese and regular mayonnaise?
-
Japanese mayonnaise like Kewpie uses egg yolks instead of whole eggs and contains rice vinegar for a richer, tangier flavor. Regular mayonnaise works as a substitute but the taste will be milder and slightly less creamy.
- → Why do I need salt on my hands when shaping?
-
Lightly salting your palms serves two purposes: it enhances the overall flavor of the rice, and combined with wet hands, prevents the sticky rice from clinging to your skin while you shape the triangles.
- → Can I add other ingredients to the filling?
-
Absolutely. Chopped scallions, sesame oil, diced pickled ginger, or a splash of sriracha can enhance the tuna mixture. Some cooks also add small cubes of avocado or cream cheese for extra richness.
- → How do I store leftover onigiri?
-
Wrap each piece individually in plastic wrap and refrigerate. For longer storage, freeze without nori and thaw overnight in the refrigerator. Add nori after thawing to prevent it from becoming soggy.