Pin It
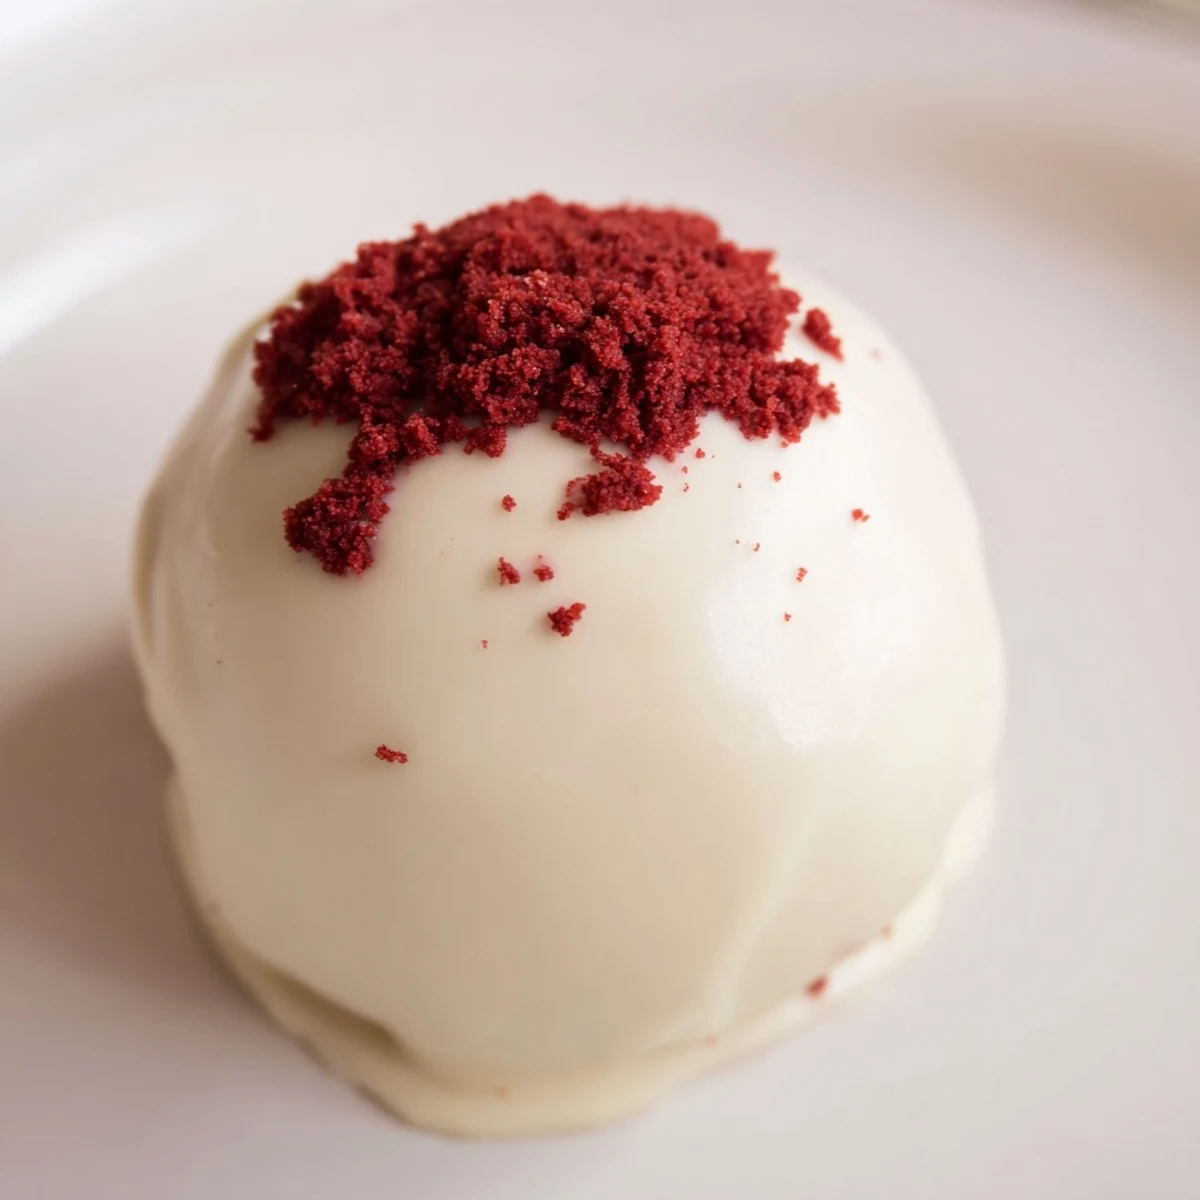
 These indulgent red velvet cheesecake balls combine the classic flavors of moist red velvet cake with a creamy cheesecake center. Each bite-sized sphere is hand-rolled and enveloped in smooth melted white chocolate, creating an elegant dessert that's as beautiful as it is delicious.
The process begins by crumbling red velvet cake into fine crumbs, then mixing with a sweetened cream cheese blend until a dense, pliable dough forms. After chilling to firm, the balls are dipped in melted white chocolate and decorated with sprinkles or cake crumbs for a festive finish.
Perfect for holidays, parties, or gifting, these no-bake treats can be prepared ahead and stored for up to five days. The combination of textures—crunchy chocolate shell, soft cake interior, and creamy filling—makes each bite irresistible.
The kitchen smelled like cocoa and sugar the afternoon I discovered red velvet cheesecake balls at a friends potluck, and I embarrassed myself by eating seven of them before dinner was even served. I went home that night determined to recreate them, and after three messy attempts that looked more like lumpy truffles than anything elegant, I finally cracked the method. These little bites are dangerously easy to disappear, especially when arranged on a plate for guests who claim they will only have one. That claim has never once held true in my experience.
I made a double batch for my neighbors holiday party last December and watched a woman in a sequined sweater sneak four onto her napkin while pretending to check her phone. We locked eyes, she shrugged, and whispered that they were the best thing on the table. We have been friends ever since, bonded by the unspoken understanding that food this good excuses all manner of greedy behavior.
Ingredients
- Red velvet cake (300 g): Homemade or store bought both work beautifully, though day old cake crumbles more cooperatively and binds better with the filling.
- Cream cheese (150 g, softened): Full fat is non negotiable here because it provides the richness and structure that holds everything together in the center.
- Powdered sugar (40 g): Just enough to sweeten the filling without making it cloying or soft.
- Vanilla extract (1 tsp): A good quality extract elevates the cheesecake layer from pleasant to memorable.
- White chocolate (250 g): Use a brand you enjoy eating on its own because the coating flavor is front and center.
- Red gel food coloring (optional): For tinting a portion of the chocolate to drizzle on top in festive ribbons.
- Sprinkles or cake crumbs (optional): A finishing touch that makes each ball feel finished and party ready.
Instructions
- Crumble the cake:
- Break the red velvet cake into fine crumbs using your fingers or pulse it in a food processor until no large chunks remain. The texture should resemble damp sand that holds together when squeezed.
- Make the cheesecake filling:
- Beat the softened cream cheese, powdered sugar, and vanilla in a bowl until completely smooth with no lumps hiding in the corners. Scrape the bowl halfway through to catch any stubborn streaks.
- Combine everything:
- Pour the cheesecake mixture over the cake crumbs and mix with your hands or a spatula until you have a dense, uniform dough. It should feel tacky but not wet, holding a ball shape without cracking.
- Roll into balls:
- Scoop roughly one tablespoon of dough and roll it between your palms until smooth and round. Place each one on a parchment lined tray and try to keep them uniform so they coat evenly later.
- Freeze until firm:
- Slide the tray into the freezer for thirty minutes so the balls firm up enough to handle without melting your chocolate coating. Skip this step and you will have a lumpy, frustrating mess on your hands.
- Melt the chocolate:
- Heat the white chocolate in a microwave safe bowl in thirty second bursts, stirring between each one until the chocolate is glossy and fluid. Patience here prevents scorched, grainy chocolate that ruins the coating.
- Dip each ball:
- Lower a chilled ball into the melted chocolate using a fork, roll it to coat completely, and tap the fork on the bowl edge to shake off excess. The coating should be thin and even, not thick and heavy.
- Decorate and set:
- Return each coated ball to the parchment, add sprinkles or a drizzle of colored chocolate while the surface is still wet, then refrigerate for about fifteen minutes until the shell is crisp and set.
 Pin It
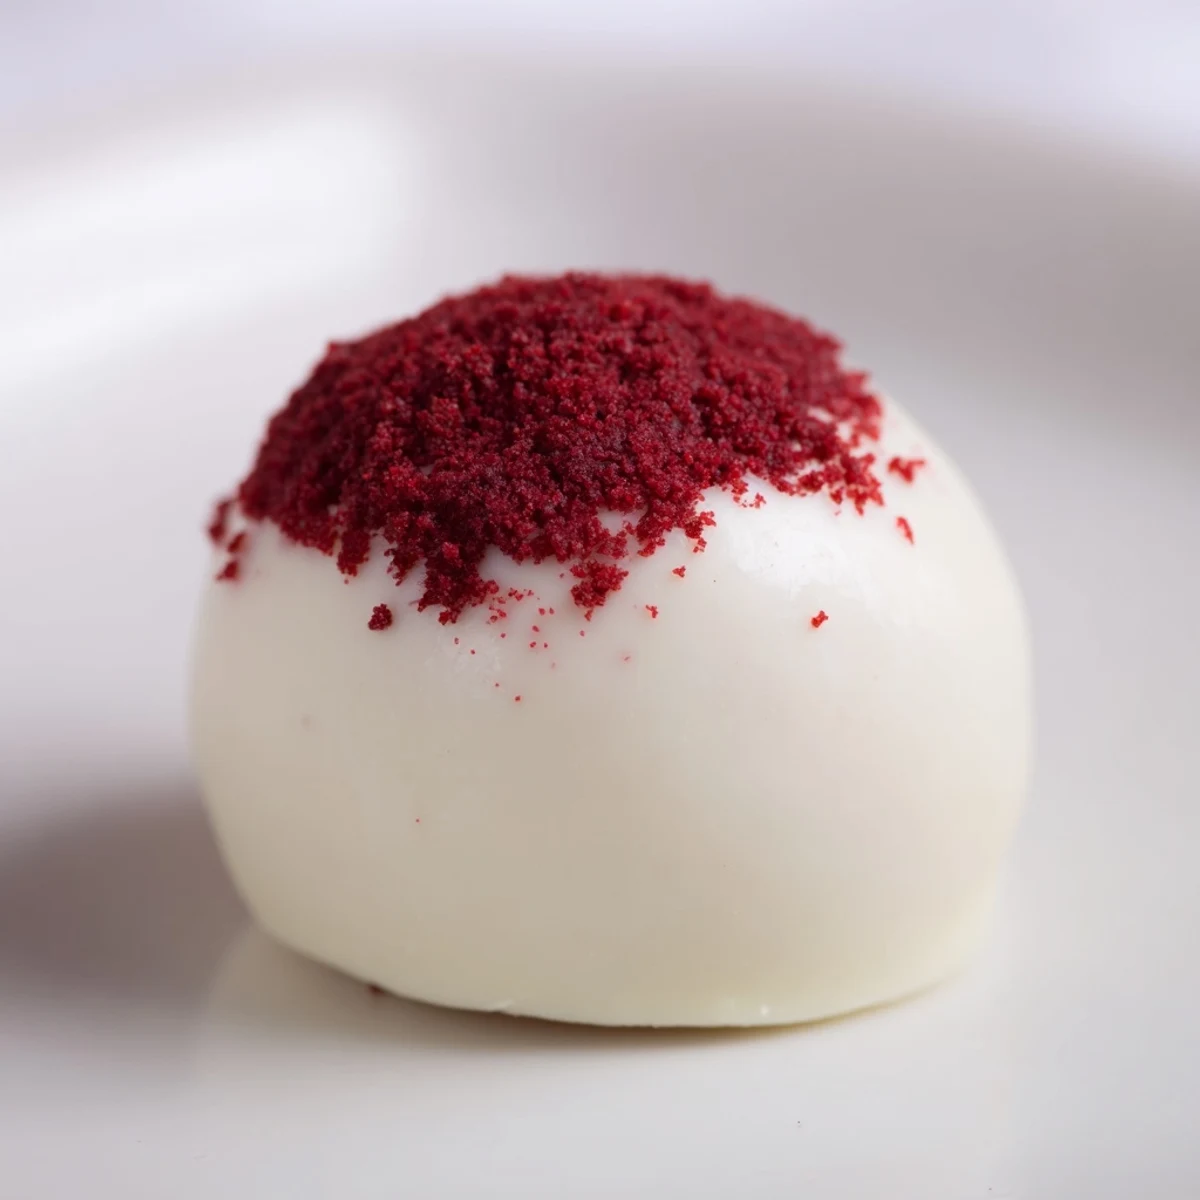
 There is something quietly satisfying about peeling a perfectly set cheesecake ball off the parchment paper and seeing that smooth, unbroken chocolate shell catch the light. It feels less like baking and more like crafting tiny edible gifts for people you genuinely like.
Choosing Your Chocolate
I learned the hard way that cheap white chocolate with a waxy texture never melts into that thin, elegant coating you see in photos. Spend a little more on couverture or a baking bar with real cocoa butter and the difference is immediate. The coating will be thinner, shinier, and it will actually taste like something instead of leaving a film on your tongue. Dark or milk chocolate also works beautifully if white is not your preference.
Making These Ahead
These balls improve after a night in the refrigerator because the flavors meld and the chocolate shell hardens to a satisfying snap. Store them in a single layer in an airtight container with parchment between any stacked layers to prevent sticking. They hold well for up to five days, though in my house they rarely survive past day two.
Getting the Coating Right
Dipping takes practice and your first few balls will probably look a bit rustic, which is perfectly fine because they taste identical to the pretty ones. The fork tapping technique is everything because it removes excess chocolate that would otherwise pool and form a flat foot at the base. Work with chilled balls, melted chocolate that is warm but not hot, and steady hands.
- If the chocolate thickens as you work, reheat it gently for ten seconds to restore the fluid consistency.
- A toothpick dragged through the wet coating can fix small bald spots before the shell sets.
- Always decorate immediately after dipping because the window for sprinkles to stick is surprisingly short.
 Pin It
 Share these with someone who appreciates a bite sized indulgence and watch their face change after the first one. That little moment of wide eyed pleasure is the entire reason to make them.
Recipe FAQ
- → How long do red velvet cheesecake balls last?
-
Store in an airtight container in the refrigerator for up to 5 days. The chocolate coating helps maintain freshness and prevents the centers from drying out.
- → Can I freeze these cheesecake balls?
-
Yes, freeze undecorated balls for up to 2 months. Thaw in the refrigerator overnight before dipping in chocolate and adding garnishes.
- → Do I need to bake the red velvet cake myself?
-
Homemade or store-bought red velvet cake both work perfectly. If using store-bought, choose a high-quality bakery cake for the best flavor and texture.
- → What type of chocolate works best for coating?
-
White chocolate provides classic color contrast, but dark or milk chocolate create delicious variations. Use high-quality chocolate chips or chopped baking chocolate for smooth melting.
- → How do I prevent the balls from falling apart when dipping?
-
Chilling the formed balls for at least 30 minutes is essential. The cold temperature firms the mixture, making it easier to handle without crumbling during the chocolate coating process.
- → Can I make these smaller for bite-sized appetizers?
-
Absolutely. Use a teaspoon instead of tablespoon to create petite versions. Reduce chilling time slightly since smaller balls firm faster, and adjust yield accordingly.