 Pin It
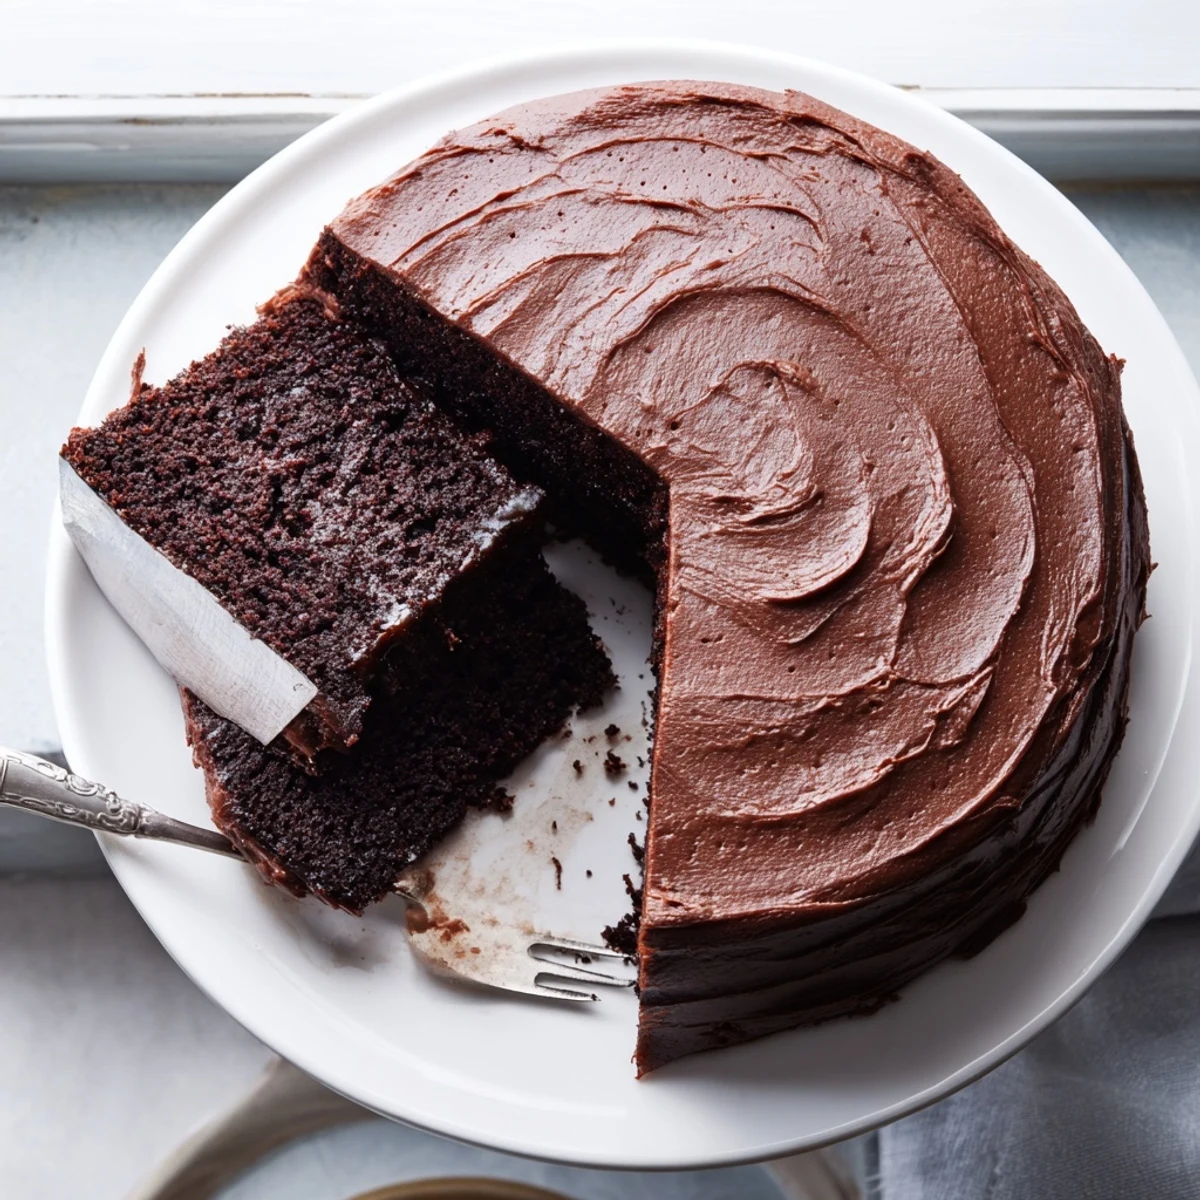
 This decadent chocolate cake delivers rich, moist layers with velvety cocoa frosting. The batter combines premium cocoa powder with boiling water creating an ultra-glossy texture that bakes into incredibly tender crumb. Each slice offers intense chocolate depth balanced by creamy buttery frosting that spreads beautifully over stacked layers.
Ideal for birthdays and special gatherings, this American-style dessert serves 10-12 generous portions. The medium difficulty level rewards home bakers with professional results using pantry staples. Customization options include adding chocolate chips for extra indulgence or swapping milk for dairy-free alternatives.
Pair with fresh berries, vanilla ice cream, or your favorite robust coffee. The cake keeps well for days, making it perfect for advance preparation. Total hands-on time runs about 20 minutes with 35 minutes baking - under an hour from start to finished masterpiece.
The kitchen was quiet except for the hum of the mixer and rain tapping against the window pane. My grandmother stood beside me, explaining that boiling water was the secret to making chocolate cake sing. I watched the steam rise when she poured it in, turning the glossy batter into something almost magical.
Last summer, I made three of these cakes in one week for different birthdays. Each time, someone asked for the recipe before they even finished their first slice. Theres something about a homemade chocolate cake that makes people feel like family.
Ingredients
- All-purpose flour: The foundation of the cake structure, providing the perfect tender crumb
- Granulated sugar: Sweetens and helps create that moist texture we all love
- Unsweetened cocoa powder: Use a good quality Dutch process for deeper chocolate flavor
- Baking powder and baking soda: Work together to give the cake its rise and lightness
- Salt: A pinch enhances the chocolate flavor like nothing else
- Large eggs: Room temperature eggs incorporate better into the batter
- Whole milk: Adds richness and helps create a tender texture
- Vegetable oil: Keeps the cake moist longer than butter alone would
- Pure vanilla extract: Always use pure extract for the best flavor
- Boiling water: The magic ingredient that blooms the cocoa and creates that signature glossy batter
- Unsalted butter: Room temperature butter whips into the silkiest frosting
- Powdered sugar: Sift it first to avoid any lumps in your frosting
Instructions
- Preheat your oven:
- Set it to 175°C and prepare two 20 cm round pans with grease and parchment paper
- Whisk the dry ingredients:
- Sift flour, sugar, cocoa, baking powder, baking soda, and salt into a large bowl
- Combine wet ingredients:
- Add eggs, milk, oil, and vanilla, beating until everything is smooth and fully incorporated
- Add the magic:
- Pour in boiling water slowly while mixing, watching the batter transform into something thin and glossy
- Bake to perfection:
- Divide between your prepared pans and bake for 30 to 35 minutes until a toothpick comes out clean
- Cool completely:
- Let the cakes rest in pans for 10 minutes before turning them onto wire racks
- Make the frosting:
- Beat butter until creamy, then gradually add powdered sugar and cocoa until combined
- Perfect the texture:
- Add vanilla and salt, then beat in milk one tablespoon at a time until you reach spreadable consistency
- Assemble your masterpiece:
- Layer the cakes with frosting between, then cover the top and sides until smooth
 Pin It
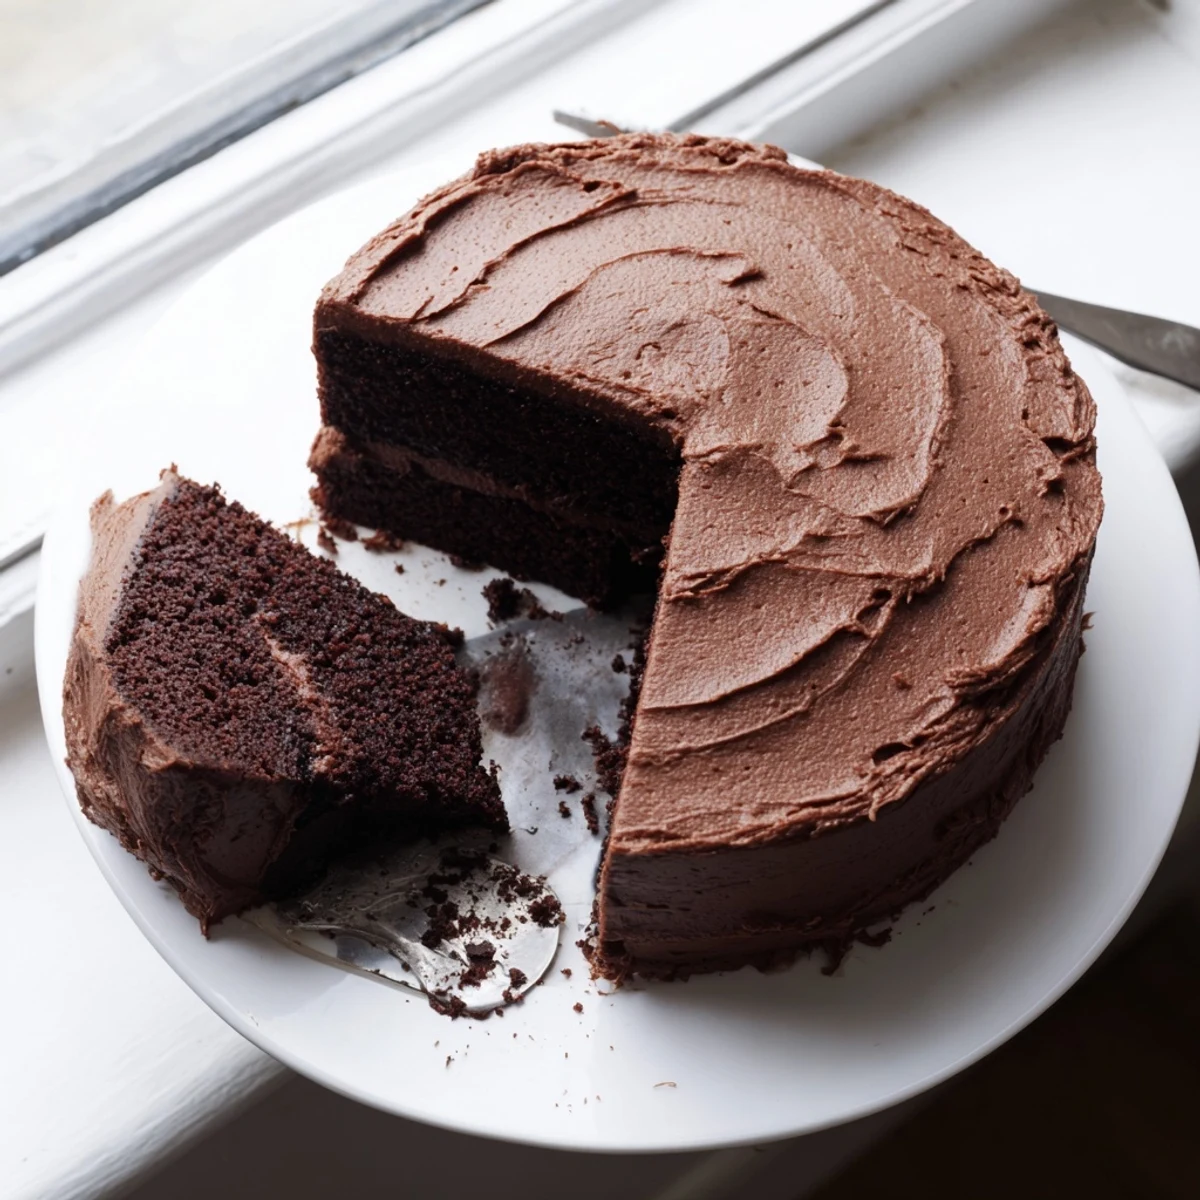
 My friend Sarah still talks about the chocolate cake I brought to her dinner party last winter. We sat around the table for hours, forks scraping plates, talking about everything and nothing while candles flickered nearby.
Making It Your Own
I once added chocolate chips to the batter because I could not resist the urge to make it even more chocolatey. The melted pockets were incredible, though I learned to toss them in flour first so they would not all sink to the bottom.
Frosting Secrets
The first time I made this frosting, I added too much milk and ended up with something closer to glaze. Now I add liquid drop by drop, watching carefully until it is just right. Sifting the powdered sugar makes all the difference between silky smooth and gritty.
Serving Ideas
This cake deserves to be the star of the show. A simple dusting of cocoa powder or a few fresh berries on top lets the chocolate shine without competing for attention.
- Let the cake come to room temperature before serving for the best texture
- Use a hot knife to get perfectly smooth frosting edges
- Store any leftovers covered at room temperature for up to three days
 Pin It
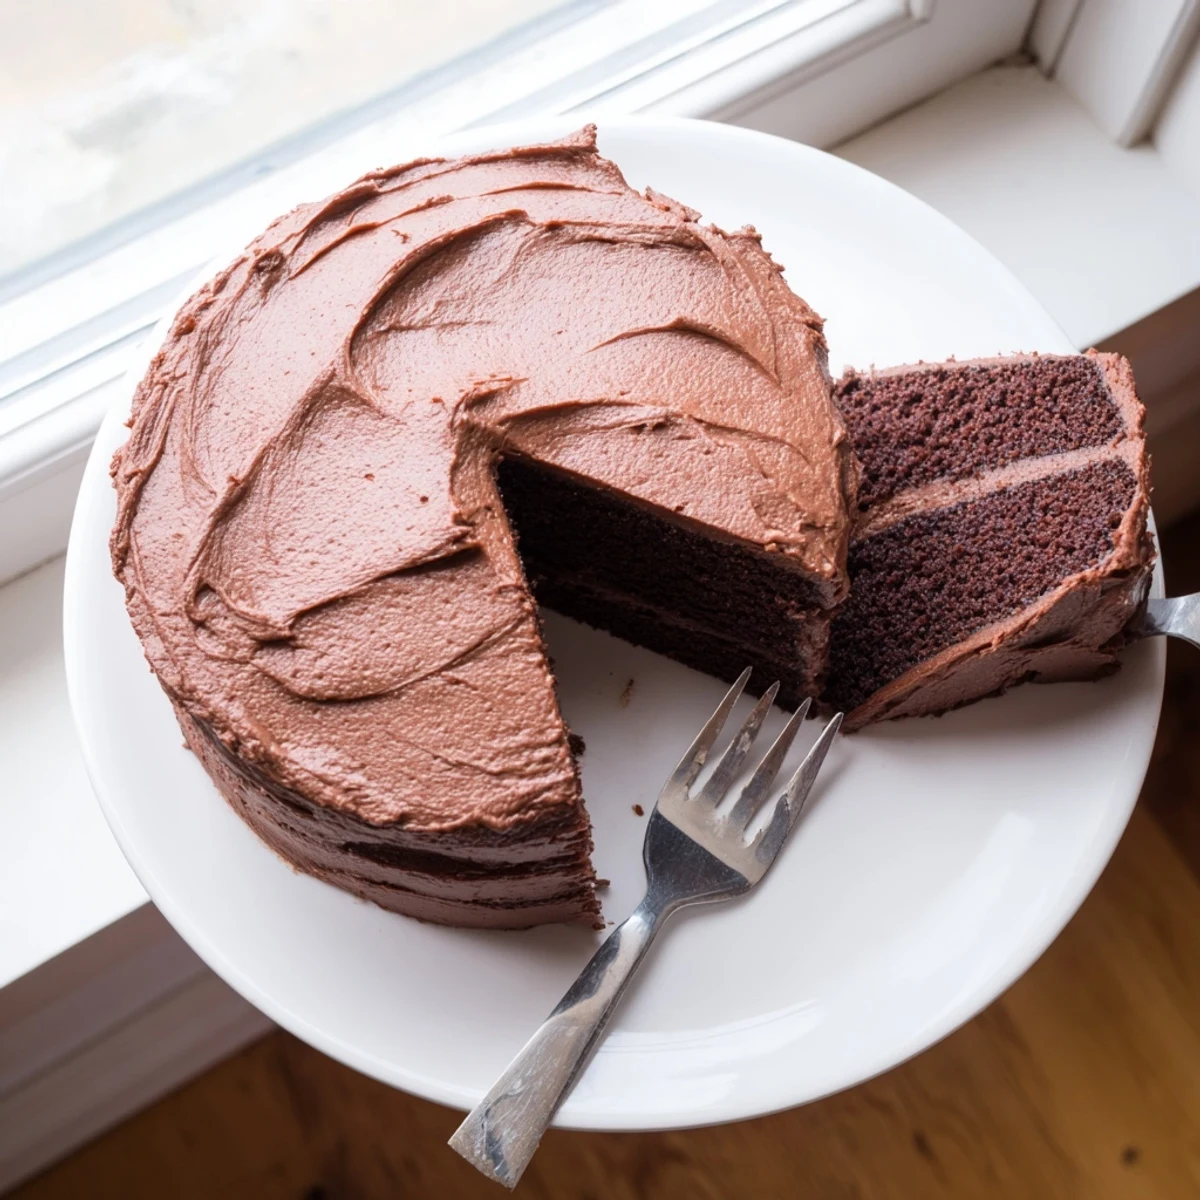
 There is something deeply satisfying about slicing into a homemade chocolate cake you have made yourself. I hope this recipe becomes part of your story too.
Recipe FAQ
- → What makes this chocolate cake especially moist?
-
The secret lies in adding boiling water to the batter, which creates a glossy, thin mixture that bakes into an incredibly moist and tender crumb. The combination of vegetable oil instead of butter in the cake layers also contributes to lasting moisture.
- → Can I make this cake ahead of time?
-
Absolutely. The cake layers can be baked up to two days in advance, wrapped tightly in plastic, and stored at room temperature. The frosted cake also keeps beautifully for 3-4 days when refrigerated, making it perfect for advance preparation.
- → How do I know when the cake is done baking?
-
Insert a toothpick into the center of each cake layer. When it comes out clean or with just a few moist crumbs (not wet batter), the cakes are ready. The edges should also pull slightly away from the pan sides.
- → Can I make this chocolate cake dairy-free?
-
Yes, simply replace the whole milk with your preferred non-dairy alternative like oat, almond, or soy milk. Swap the butter in the frosting for vegan butter or margarine. The results remain deliciously rich and satisfying.
- → What's the best way to store leftover cake?
-
Store frosted cake in an airtight container or cake dome at room temperature for up to 2 days, or refrigerate for 4-5 days. Bring chilled slices to room temperature before serving for optimal texture and flavor.
- → Can I use this batter for cupcakes instead?
-
Certainly. Pour the batter into lined cupcake tins filling each about two-thirds full. Reduce baking time to 18-22 minutes at the same temperature. You'll get approximately 24-30 cupcakes depending on size.