 Pin It
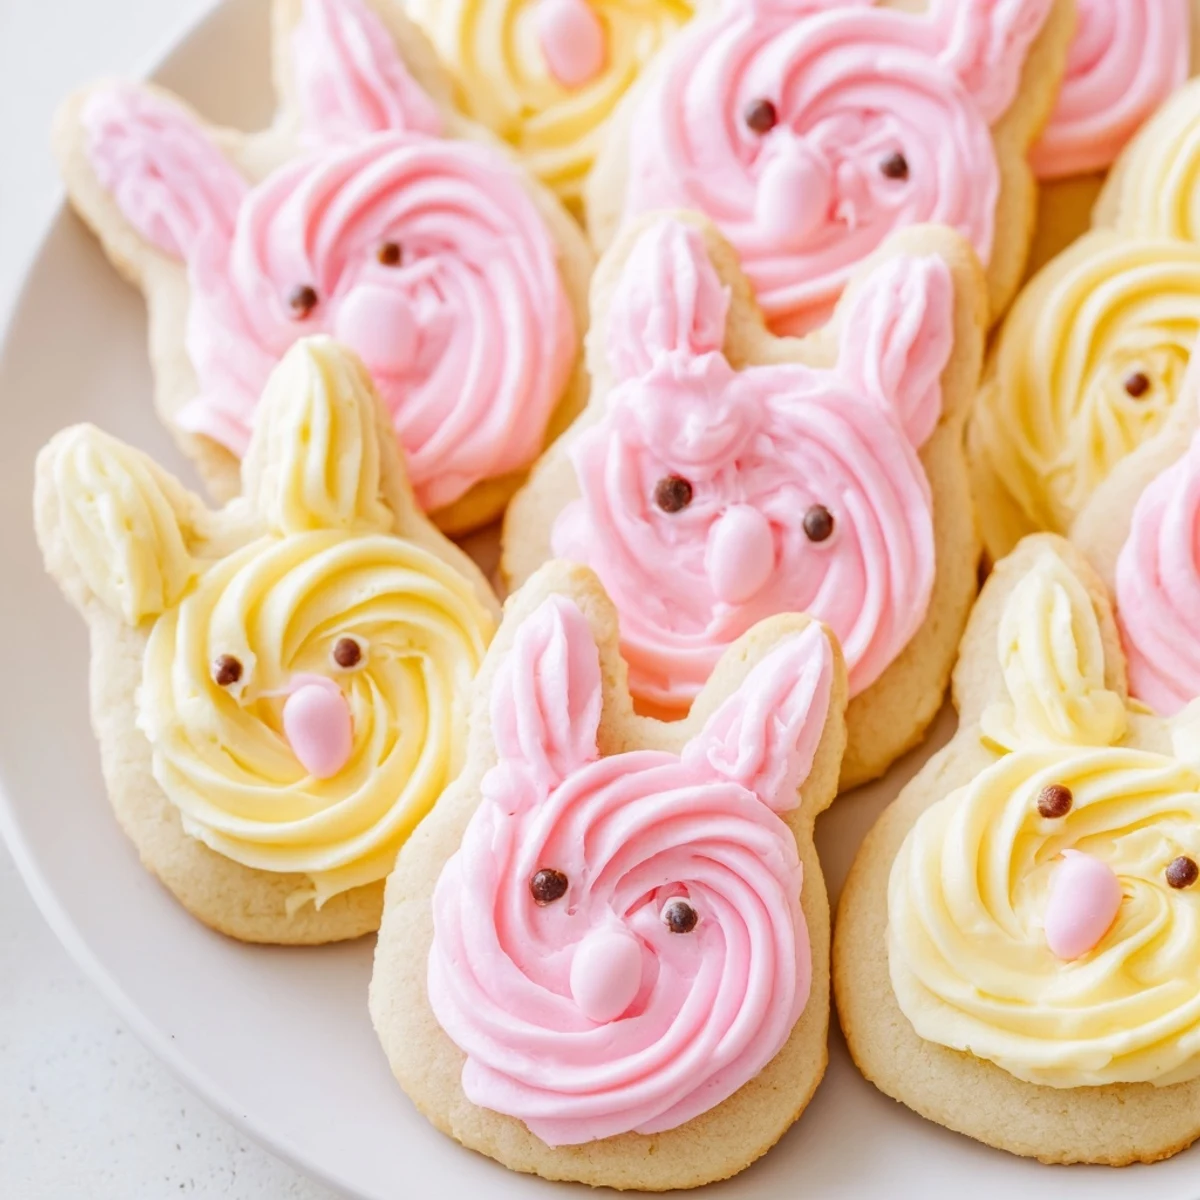
 Create adorable bunny-shaped sugar cookies with silky buttercream frosting for your spring gatherings. These buttery treats feature a classic sugar cookie base that's rolled, cut with bunny cutters, and baked until golden. The creamy buttercream frosting pipes beautifully and can be tinted with pastel colors for Easter charm.
The dough requires chilling for optimal rolling, and the finished cookies can be decorated with candy eyes and sprinkles for playful bunny faces. Make them a day ahead or store for up to a week.
Last spring my daughter asked if we could make ‘bunny cookies’ for her class party and I impulsively said yes without realizing I’d never shaped sugar cookies like animals before. The first batch came out looking like lopsided cats but the kids didn’t care at all. Now it’s become our weird little tradition to make these every Easter with slightly different frosting colors each year. There’s something about watching them hop around on the cooling rack that makes the whole house feel lighter.
I brought a platter to work once and my coworker literally gasped when she saw them arranged in a little cluster. Later she told me they reminded her of the cookies her grandmother used to make but never wrote down. Now I make an extra batch just to gift to people who need a tiny bit of unexpected joy in their week.
Ingredients
- All-purpose flour: The foundation that gives these cookies their perfect tender crumb and structure for holding shapes
- Baking powder: Just enough lift to make them lightly puffed without spreading too thin in the oven
- Salt: A pinch that balances all that sweetness and makes the vanilla really sing
- Unsalted butter: Softened to room temperature so it creams properly into the sugar for that melt-in-your-mouth texture
- Granulated sugar: Sweetens the dough while creating that slightly crisp edge we all love on sugar cookies
- Large egg: Binds everything together and adds richness for a cookie that’s not too fragile
- Pure vanilla extract: The warm comforting flavor that makes these taste like home
- Unsalted butter for frosting: Beat this until ridiculously creamy for the silkiest buttercream you’ve ever made
- Powdered sugar: Sweetens and thickens the frosting while keeping it smooth and pipeable
- Whole milk: Just enough to loosen the frosting to the perfect spreading consistency
- Food coloring: Gel coloring works best for soft pastel shades that look like spring itself
Instructions
- Get your oven ready:
- Preheat to 350°F and line two baking sheets with parchment paper so nothing sticks and cleanup is effortless.
- Whisk the dry stuff:
- In a medium bowl combine flour baking powder and salt so everything is evenly distributed before it hits the butter.
- Cream the butter and sugar:
- Beat softened butter and sugar for about 3 minutes until it looks pale and fluffy like little clouds.
- Add the egg and vanilla:
- Mix until just combined then scrape down the sides to make sure all that buttery goodness gets incorporated.
- Bring it together:
- Gradually add the dry ingredients mixing only until you no longer see streaks of flour.
- Chill out:
- Divide dough into two discs wrap them up and chill for at least 30 minutes so they’re easier to roll and cut.
- Roll and cut:
- On a floured surface roll dough to 1/4 inch thickness and press your bunny cutter down firmly.
- Bake until just golden:
- Bake for 8 to 10 minutes until the edges start turning barely golden then let them cool completely.
- Make the frosting:
- Beat butter until creamy then gradually add powdered sugar milk and vanilla until silky smooth.
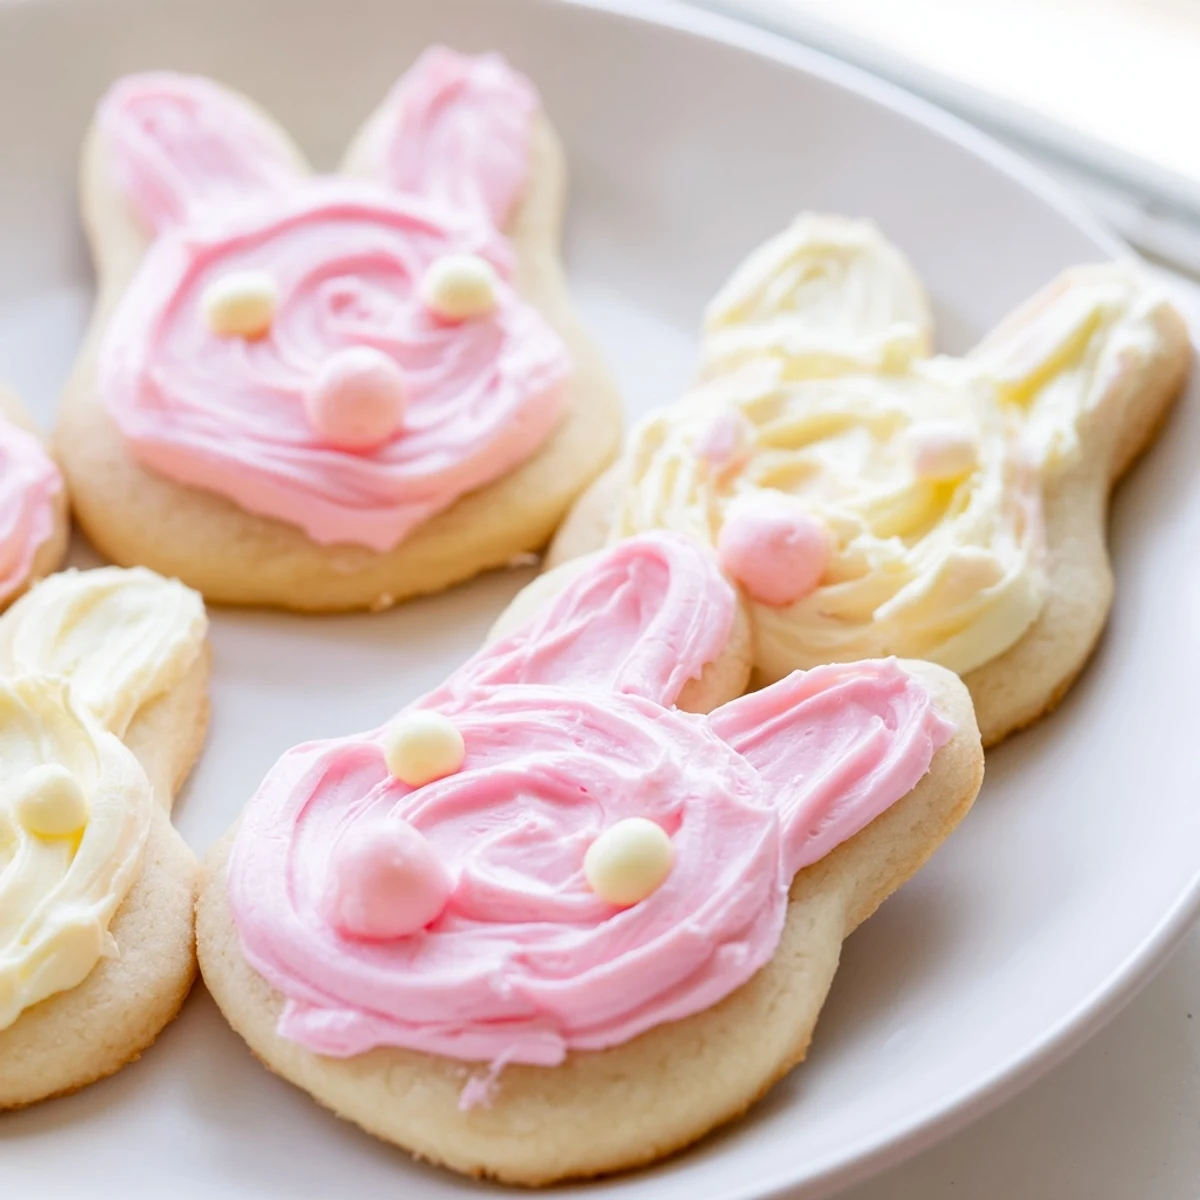
- Decorate your bunnies:
- Frost the cooled cookies and add candy eyes or sprinkles to bring these little guys to life.
 Pin It
 My niece decorated one with pink frosting and gave it three eyes instead of two then refused to eat it because it was “too special.” I kept that funny little three-eyed bunny on my counter for days smiling at me every time I walked past.
Making Ahead
The dough actually benefits from chilling overnight so you can absolutely make it the day before. I’ve even wrapped the discs really well and frozen them for up to a month then just let them thaw in the fridge before rolling.
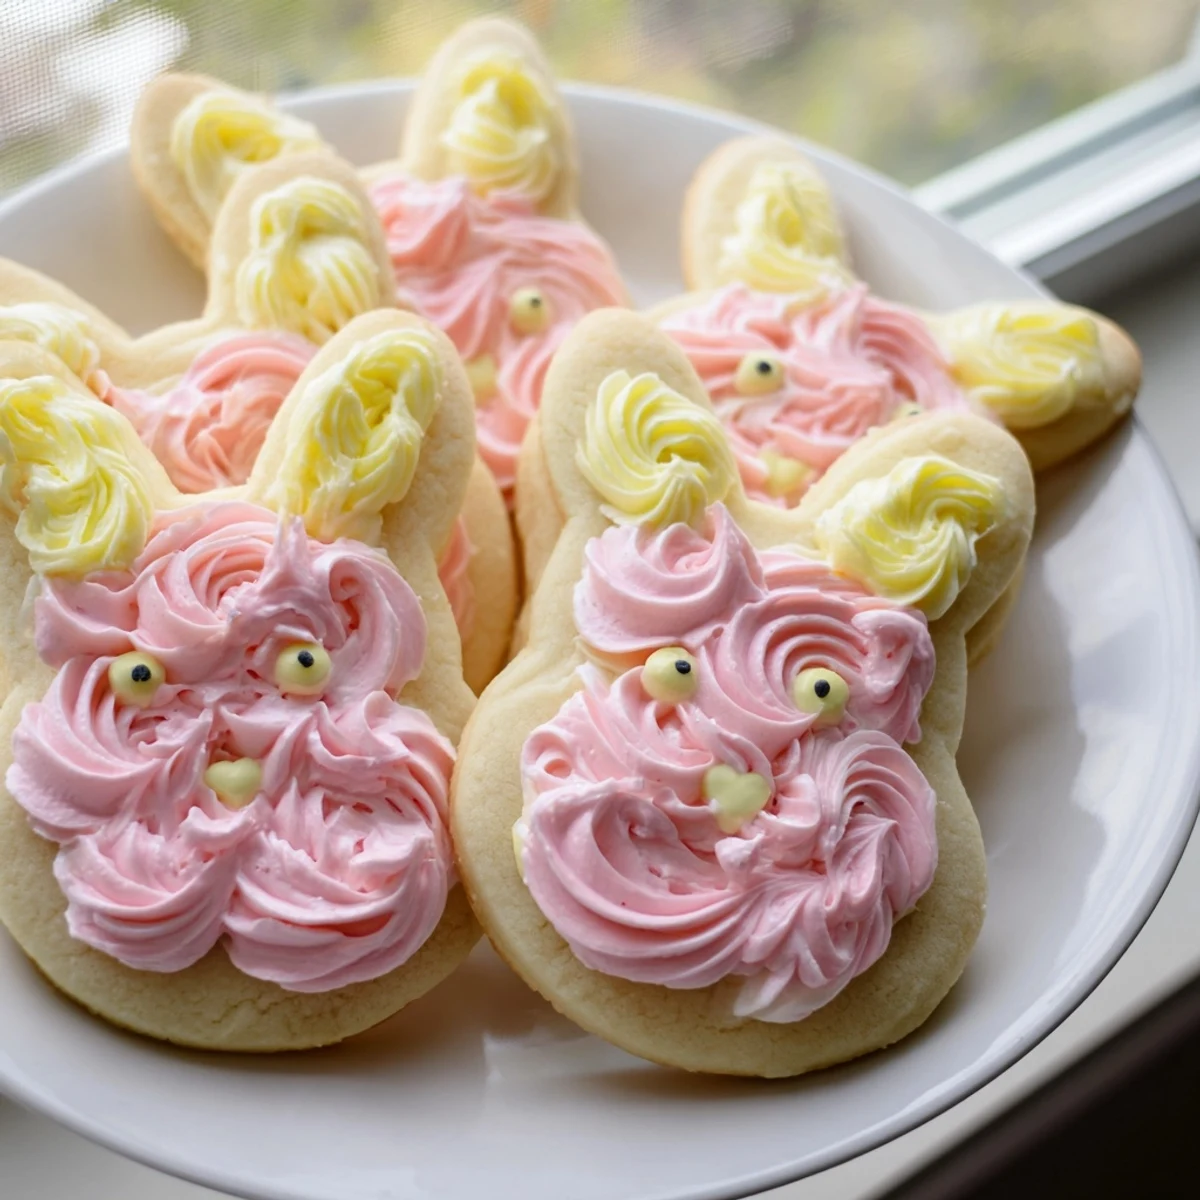
Frosting Colors
Pastel pink soft blue lavender and mint green look absolutely stunning together on a platter. Start with a tiny amount of gel coloring because you can always add more but you can’t take it back once it’s too dark.
Serving And Storing
These stay fresh in an airtight container at room temperature for about three days though they’ve never lasted that long in my house. If you need to store them longer layer them between parchment paper in a container and refrigerate for up to a week.
- Let refrigerated cookies come to room temperature before serving for the best texture
- Package them in clear bags tied with ribbon for the sweetest little spring gifts
- Set up a decorating station at your next gathering and let everyone create their own bunny
 Pin It
 There’s pure magic in biting into a buttery vanilla cookie that looks like it’s about to hop off the plate.
Recipe FAQ
- → Can I make the cookie dough ahead of time?
-
Yes, the dough can be prepared up to a day in advance and chilled overnight. This actually improves the rolling process and helps the cookies hold their shape during baking.
- → What's the best way to get smooth buttercream frosting?
-
Beat room temperature butter until creamy before gradually adding powdered sugar. Mix on medium speed for 2-3 minutes until completely smooth and free of lumps. Adding milk helps achieve spreadable consistency.
- → Can I freeze these decorated cookies?
-
Frosted cookies don't freeze well as the buttercream can separate when thawed. However, you can freeze the unbaked cut-out shapes for up to 3 months, then thaw and bake fresh when needed.
- → How do I prevent the cookies from spreading too much?
-
Chill the dough thoroughly for at least 30 minutes before rolling. Keep the dough cold while working, and avoid over-softening it. Room temperature butter and proper measuring also help maintain shape.
- → What alternatives work for bunny faces?
-
Candy eyes, mini chocolate chips, or sprinkles all work beautifully for creating bunny expressions. You can also pipe details with contrasting frosting colors using a small round tip.
- → Can I use different cookie cutter shapes?
-
Absolutely! While bunny shapes are perfect for spring, you can use any cutter you have. Flowers, eggs, or simple circles work wonderfully with this versatile dough and frosting combination.